This is our final demo for the lobby. You can walk through the lobby! Please enjoy it:)
http://www.nada.kth.se/~huitingw/lobbymodeling/
Monday 16 February 2015
Import into Unity
After finishing our modelling, we finally got a chance to create our own real-time demo. So happy!

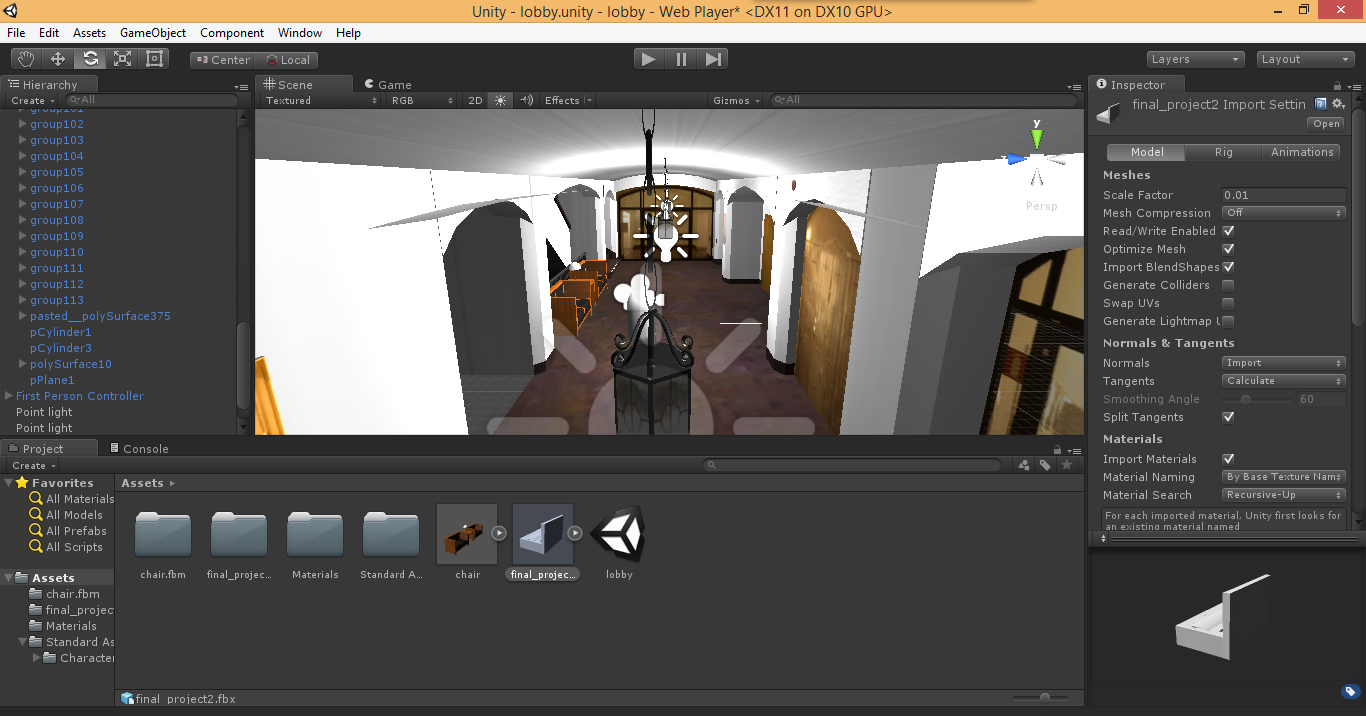
In order to import into Unity, we exported the file as
FBX. When choosing Export Selection Options, we selected the file type as FBX
export. Then, click Export Selection button. Remember to tick Embed Media
checkbox when exporting. To do this, we can get one file with embedded texture
rather than a separate folder including textures.
After getting the FBX file, we built a new project in
Unity and then clicked “open scene” to load the FBX file. You can see the scene
as below. We added some lights based on
the requirement.
The next step is to
import the character into the scene. In order to make it simple, we used the
characters which have been included in Unity. Click “Assets”, “Import Package”
then “Character Controllers”. We imported the “first person” into our scene and
put it in the center of the lobby. Here may be some problems about falling down
from the floor and we added component of collider to both character and the
floor.
Finally,
we published the game by clicking
“File”, “Build Settings” ”Web Player”. As a result, we have an html file and Unity data in a
folder. By putting both of them into the web space, we got our real-time demo.
Sunday 15 February 2015
When modelling the lobby..
Having experienced a hard-working while interesting process, we eventually finished our project to model the lobby. Here, we share our experience and welcome you to ask questions and give suggestions:)
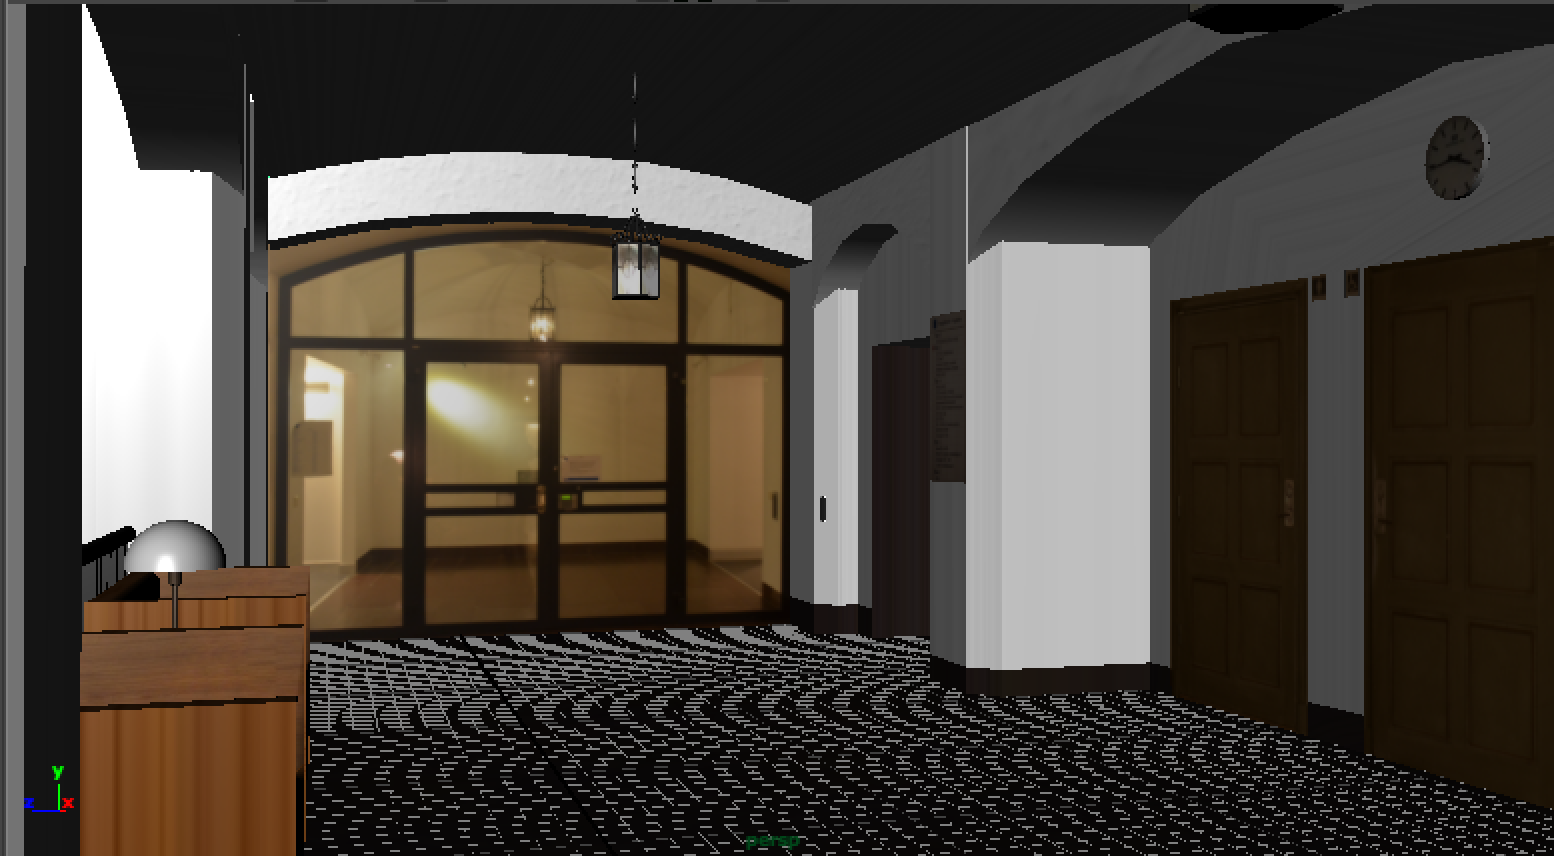
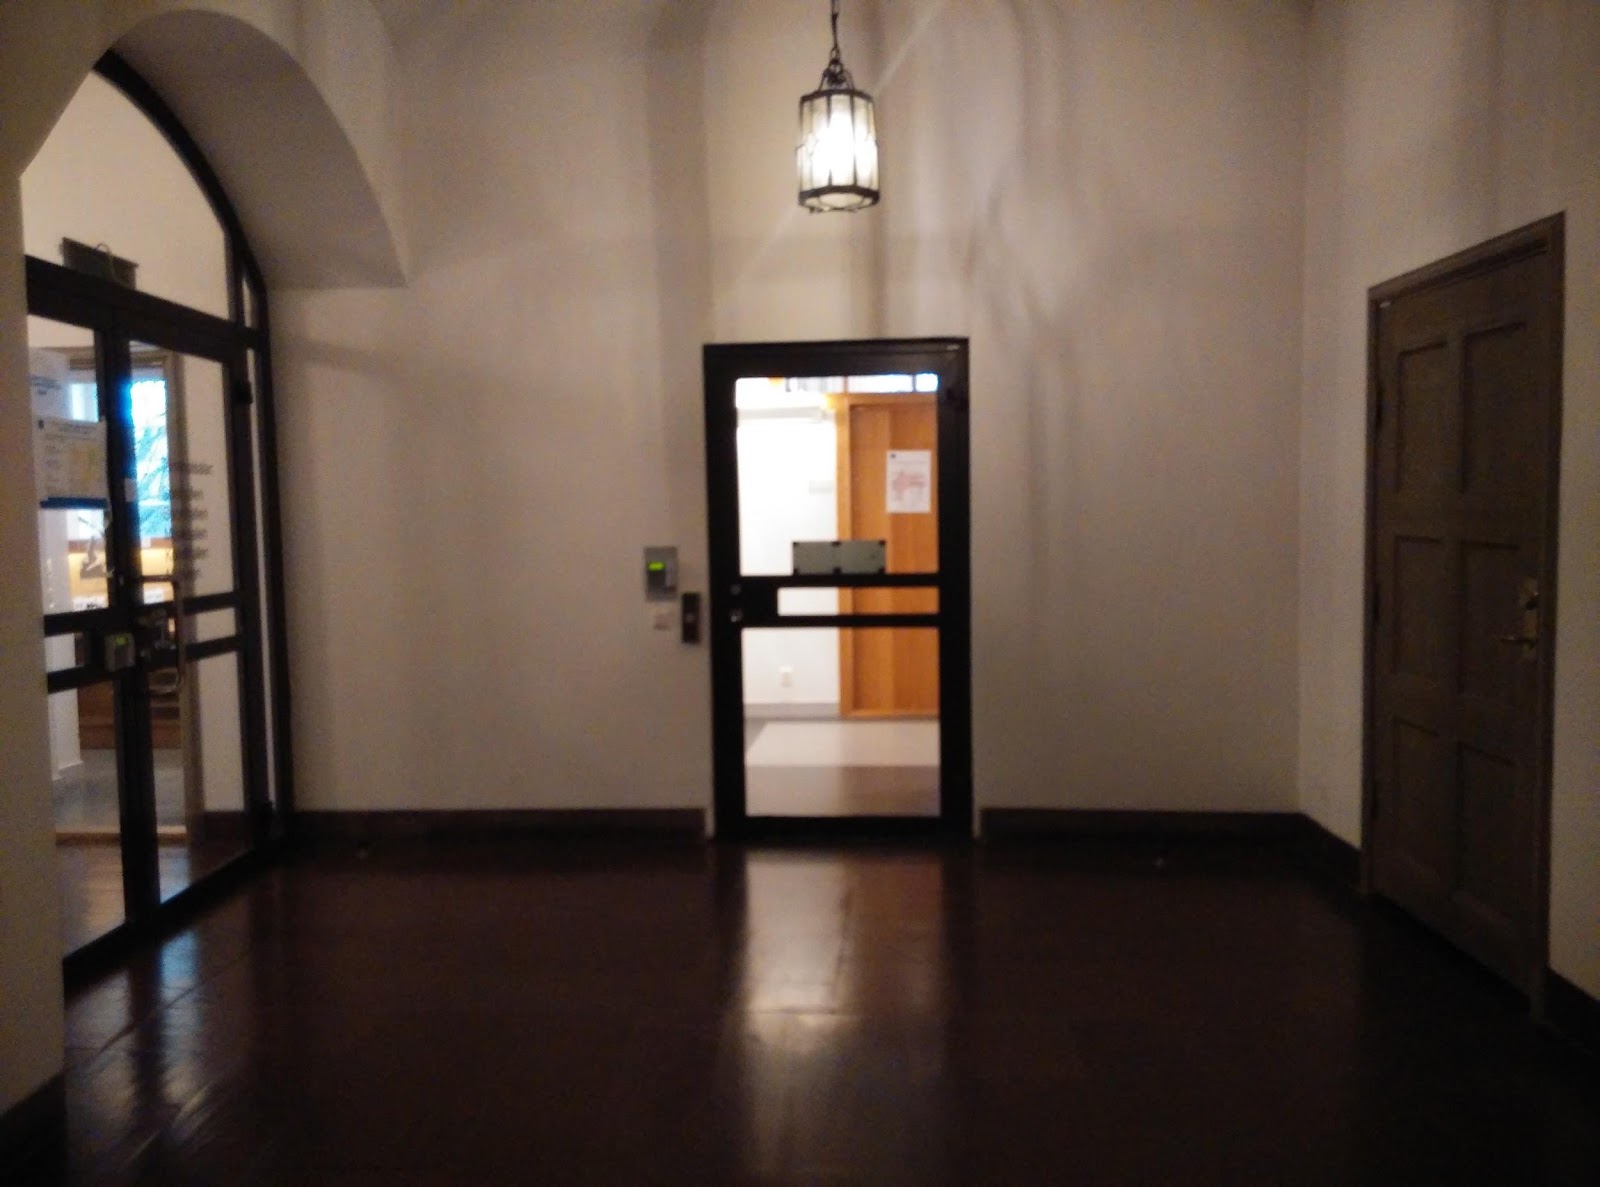
First, we will show some screenshots of our final model compared to the picture of the real lobby.


To finish this, we achieved three steps: doing the shape modelling, adding textures and using in the Unity game engine.


The next post will be the part to export into Unity as well as our final video and real-time modelling demo:)
P.S. The two tutorials are from the Youtube:
First, we will show some screenshots of our final model compared to the picture of the real lobby.
To finish this, we achieved three steps: doing the shape modelling, adding textures and using in the Unity game engine.
- 3D modeling
Before modeling, we took measurement of the length for every part. For those which can’t be measured directly, we took pictures and then calculated the length according to the scale.
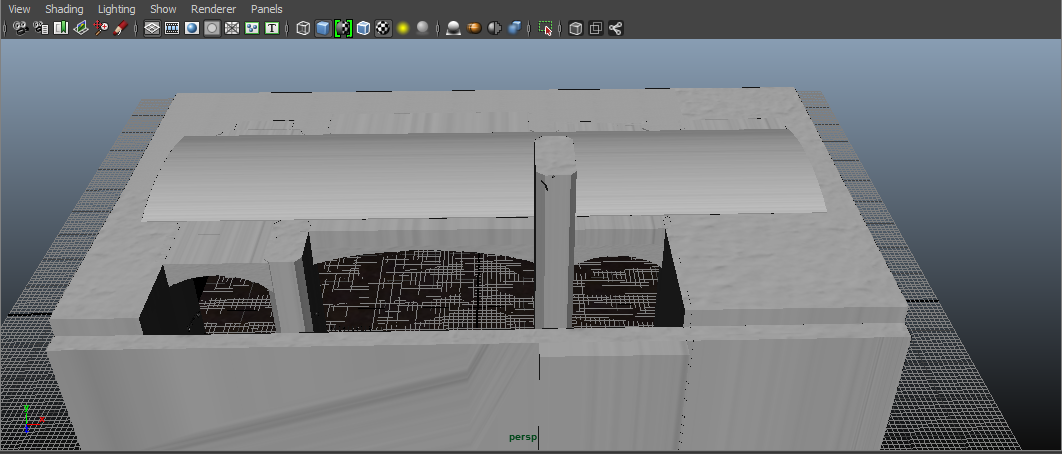
1.1 Modelling the main structure of the lobby
1.1.1 Basement
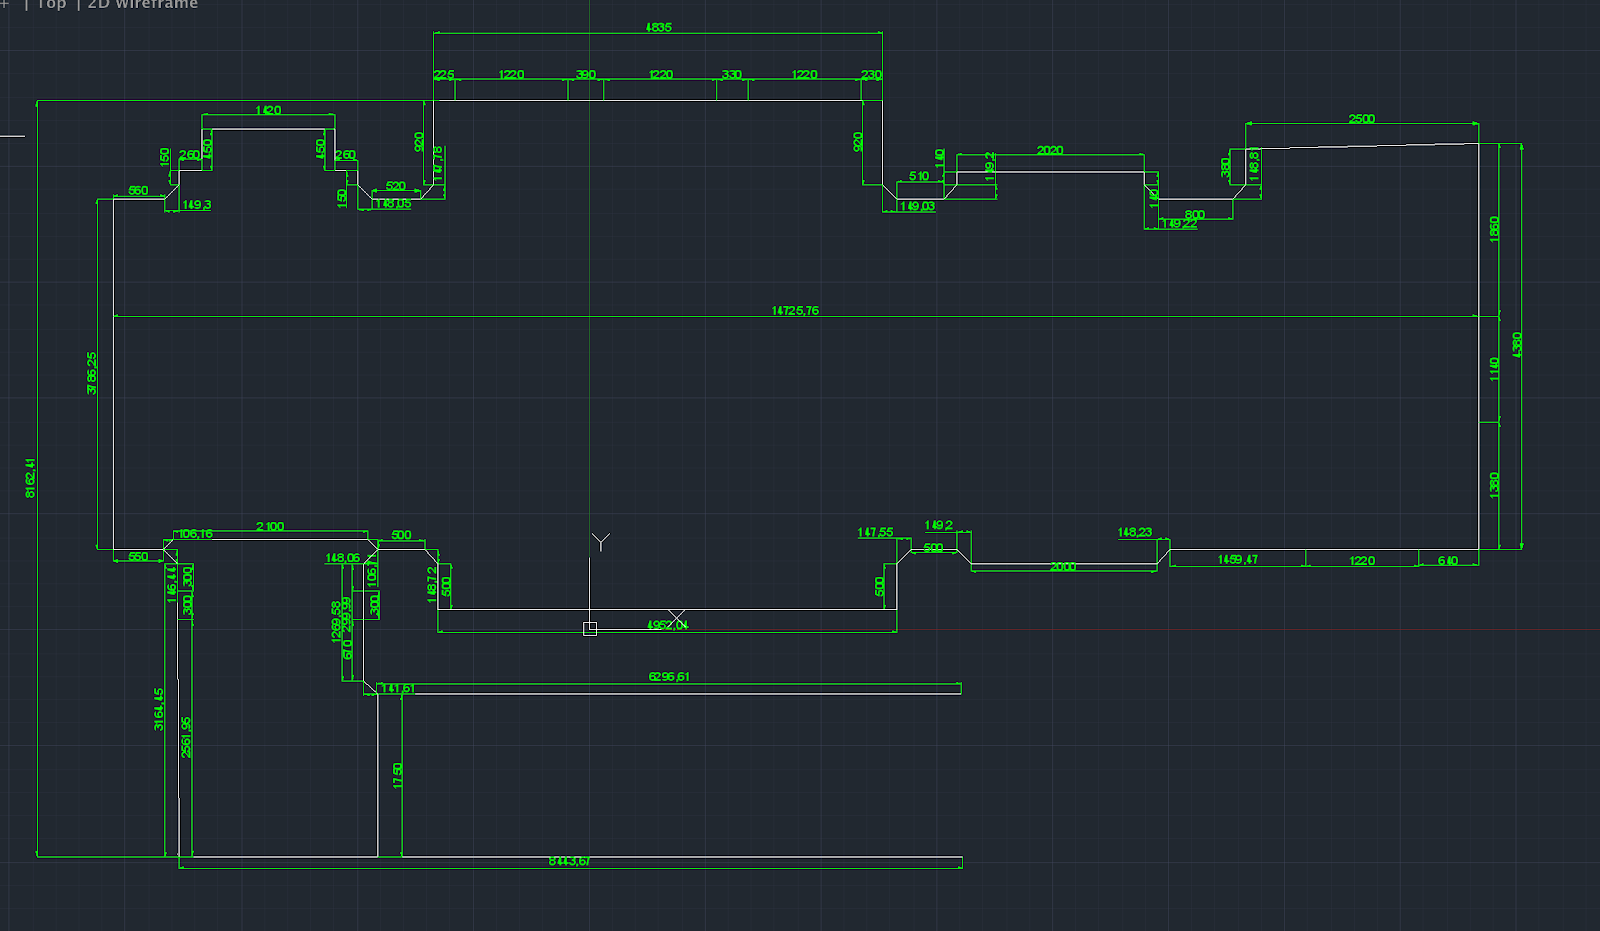
We first draw the blueprint of this floor with AutoCAD 2015. Here is the image.
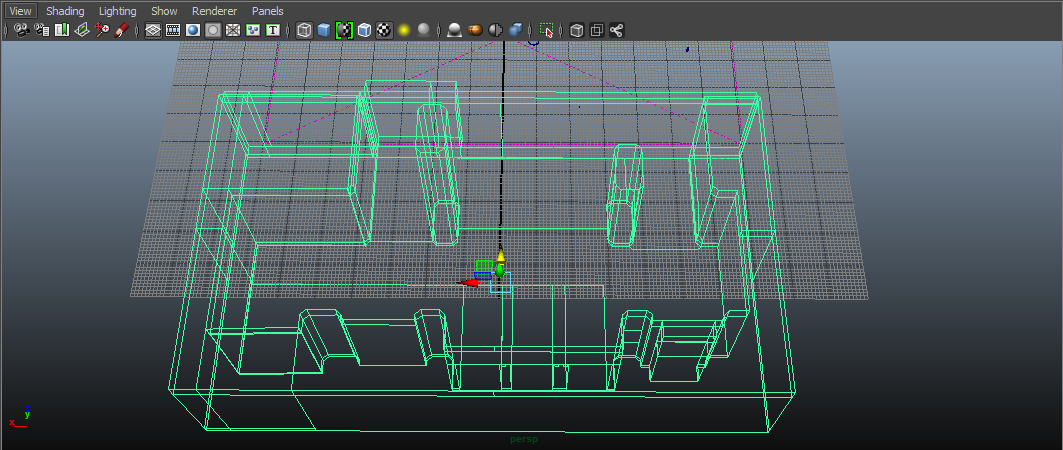
Then, we imported the image into Maya and created a reference layer as the modeling basement. According to the tutorial, Modeling Tutorial using modeling toolkit maya Modeling from blueprints [1], on Youtube, we created a polygon plane on the grid. And then we used Multi-Cut Tool to make the plane fit for the blueprint.
When we finished these steps, we selected certain faces and used Extrude Tool to make them into the wall. The result is shown as follows.
This is the basic structure of the lobby.
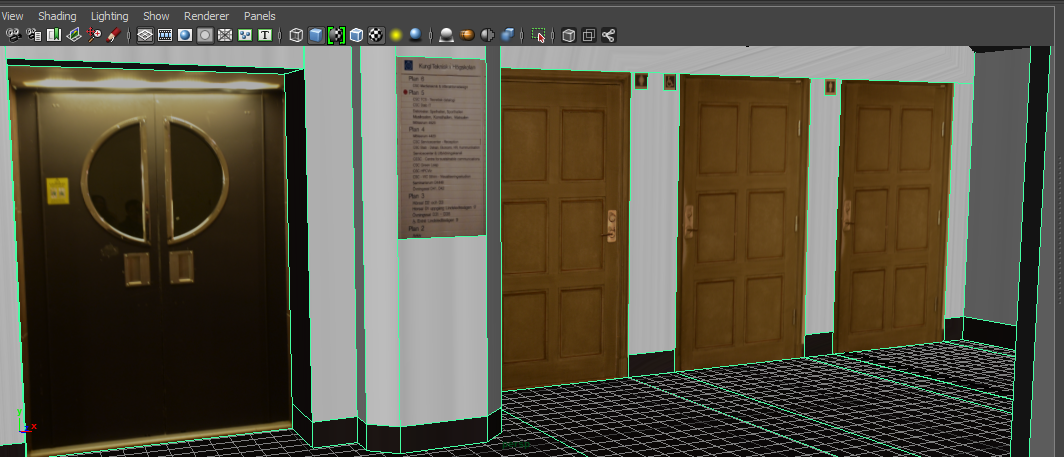
1.1.2 Arched doors
There are a lot of ways to build arch. We use “Multi-Cut Tool” to draw the basic shape of the arch based on our real pictures. Then “extrude” the face. We adjust the positions of some points to make the whole shape more suitable.
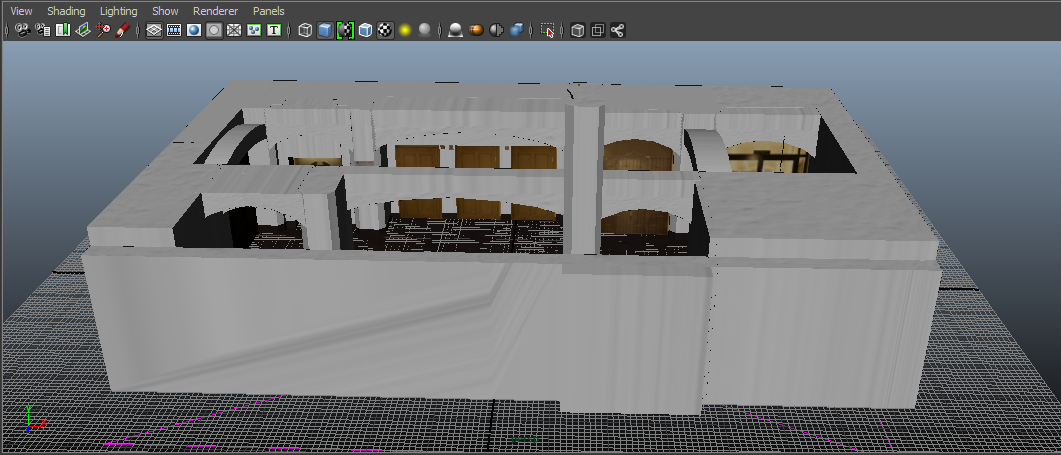
Adding the arches to the basic structure shown above and the lobby looks like this.
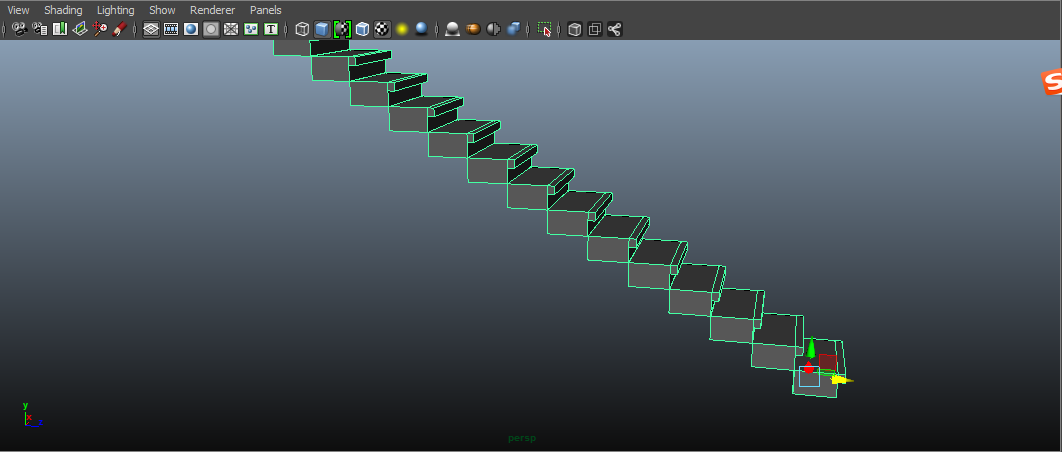
1.2 External stairs
We have tried with two ways. One way is to build a stair and then duplicate with “Duplicate Special”. It looks like this.
Then embed another shape. Here it the final result for stairs.
Another way is to draw one face shape with the tool “Create Polygon Tool” and then extrude the face. It should be like this.
The stairs are built as a whole. It looks better but difficult to adjust when putting this into our project. We chose the first way.
1.3 Decorations
1.3.1 Table and chairs group
When creating the chairs, we referred to this tutorial [2], which explicitly shows how to use Polygon Cube to create a sofa. The most important part for the chair was to use Bevel Tool to create beveling for the chair, shown below.
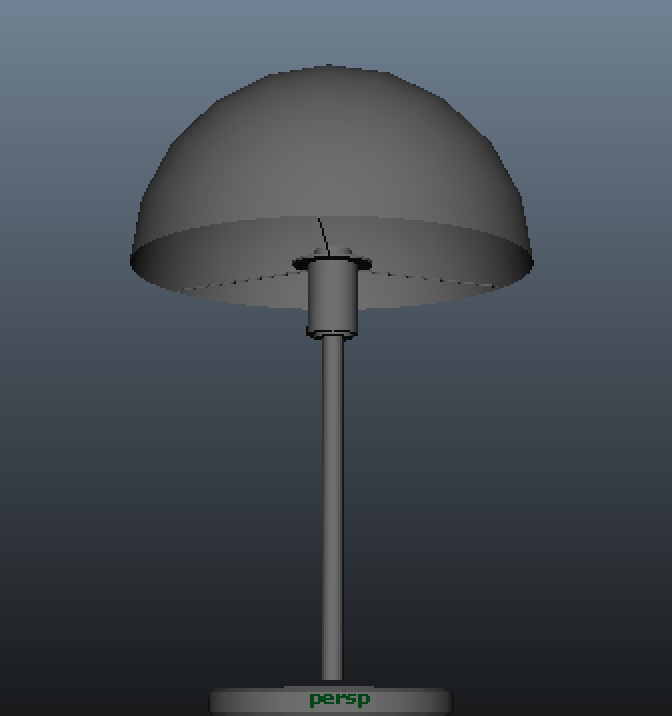
Creating the table is relatively simple, but there are some details being paid attention to. For example, the height of the table should fit for those of the chairs as they are a group. Also, as the following image suggested, under the desktop, there are four small polygons.
The next object is the table lamp. We first created some Polygon Cylinders to make the lamp base. As for the cover, we created a Polygon Sphere and used Multi-Cut Tool to cut it into a semi-sphere, shown as follows.
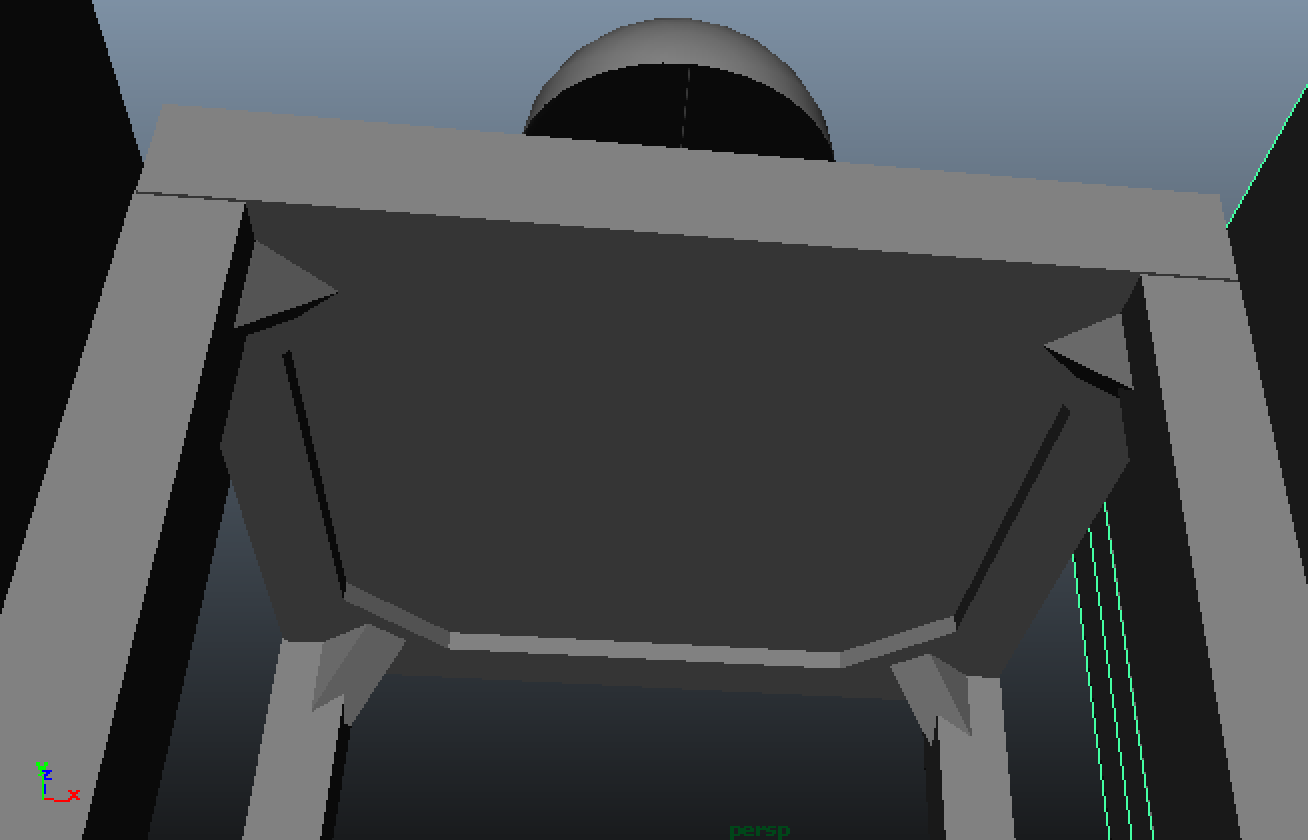
1.3.2 Pendant Lamps
The pendant lamp composed of two parts- the upper decoration and the bottom light box. The bottom light box is made of Polygon Cylinder but you have to modify the Subdivisions Axis value into 6 to make it wit a hexagon bottom. You also need to prepare for the texture part by cutting the surface.
The upper decoration is more complicated. You can create one part and then duplicate into 6 parts. The method to create them is the same as the armrest, which can be read in the following part.
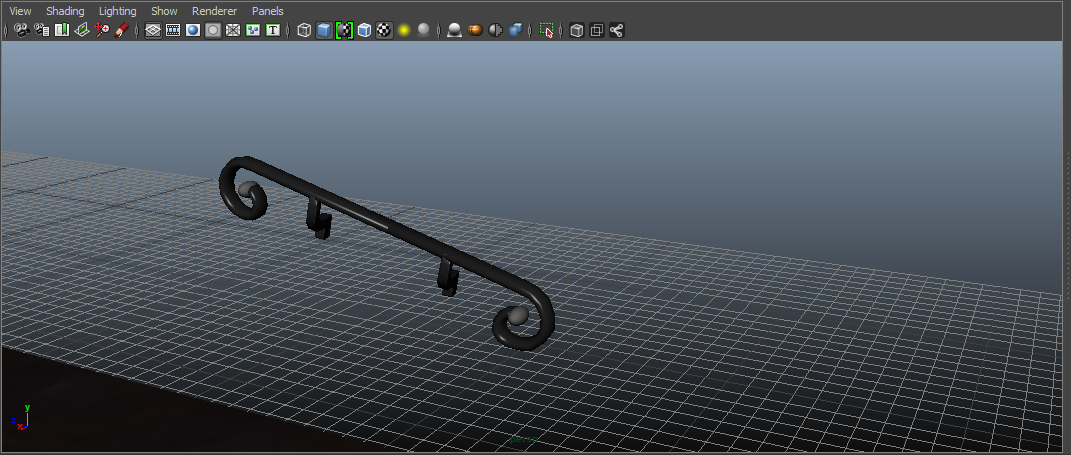
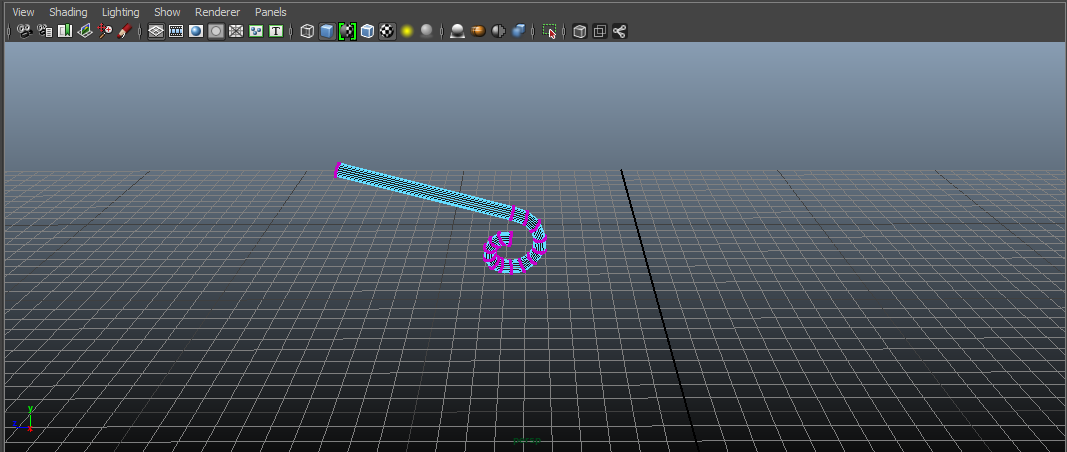
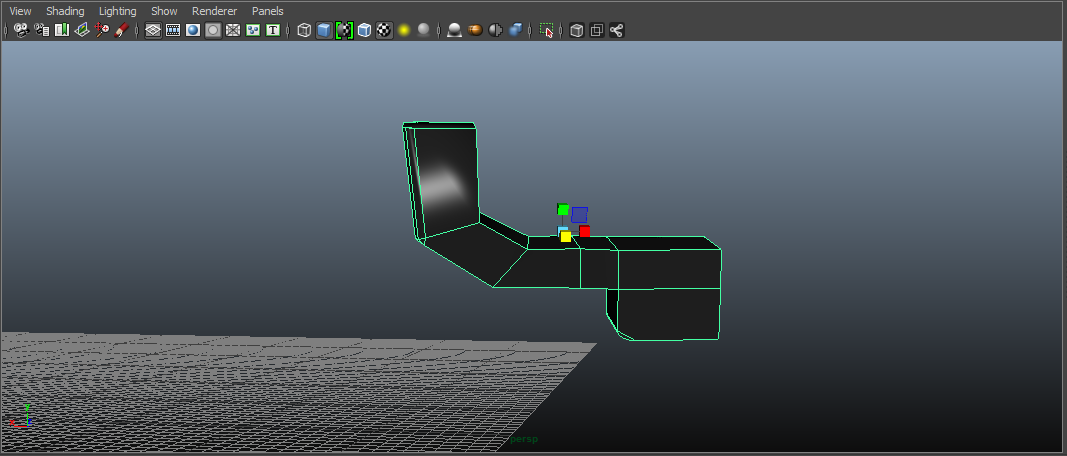
1.3.3 Armrest
This was built with 3 parts. We drew a cylinder with several Height division. Then we adjusted the points at each division layer to make it look like this. We added a sphere at the end of arched side.
For the rest part, we used the same method to adjust a cube to make it look like this.
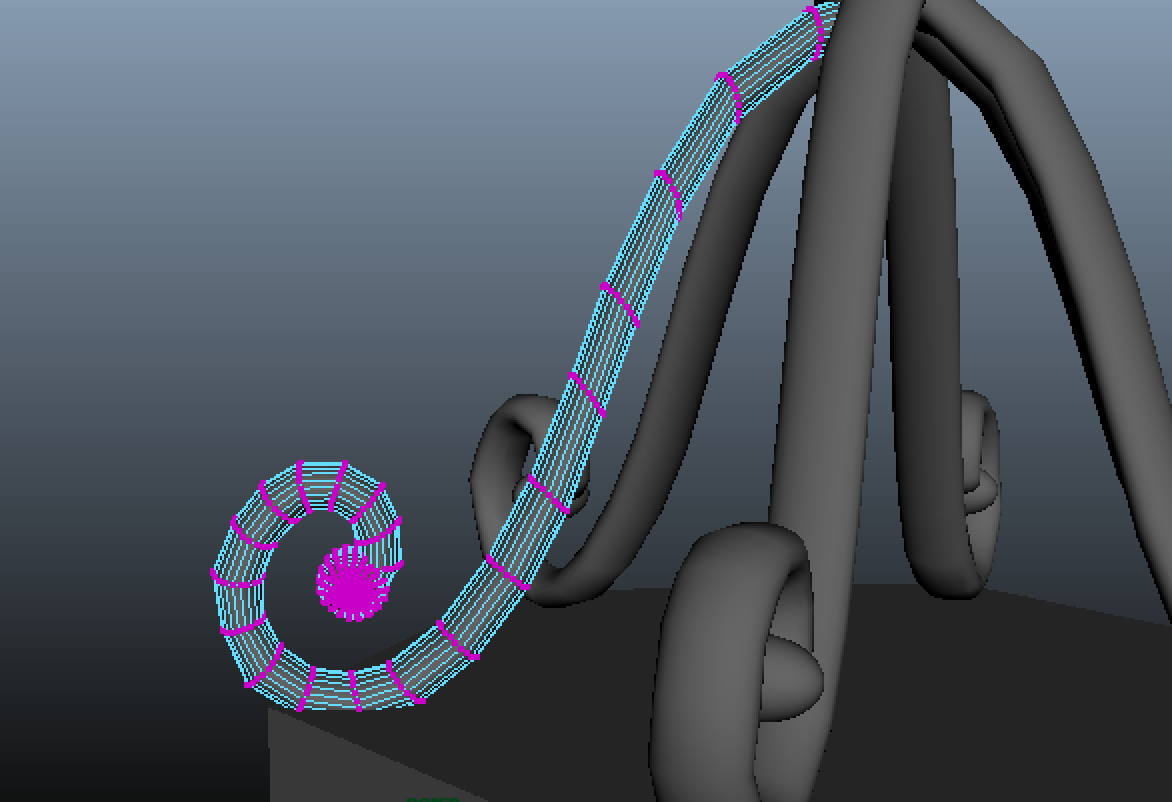
1.3.4 Railings
There are two groups of railings. Here we would like to choose one as an example to introduce how to model them. What we thought difficult is the decoration on the railing. We first created a pipe and delete part of it. Then we moved some points. In this way, we could finish a quarter of the shape. At last, rotate the part of the pipe and adjust with “Move Tool” and “Scale Tool”. You can see from the final result.
2. Add texture
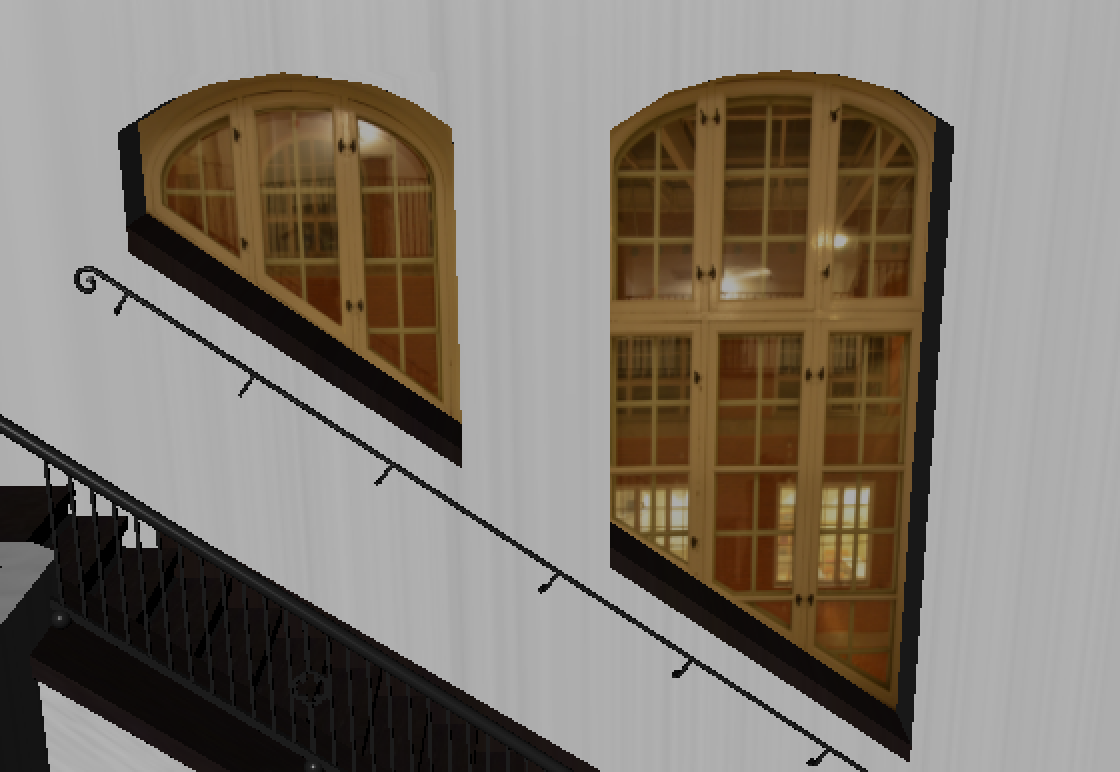
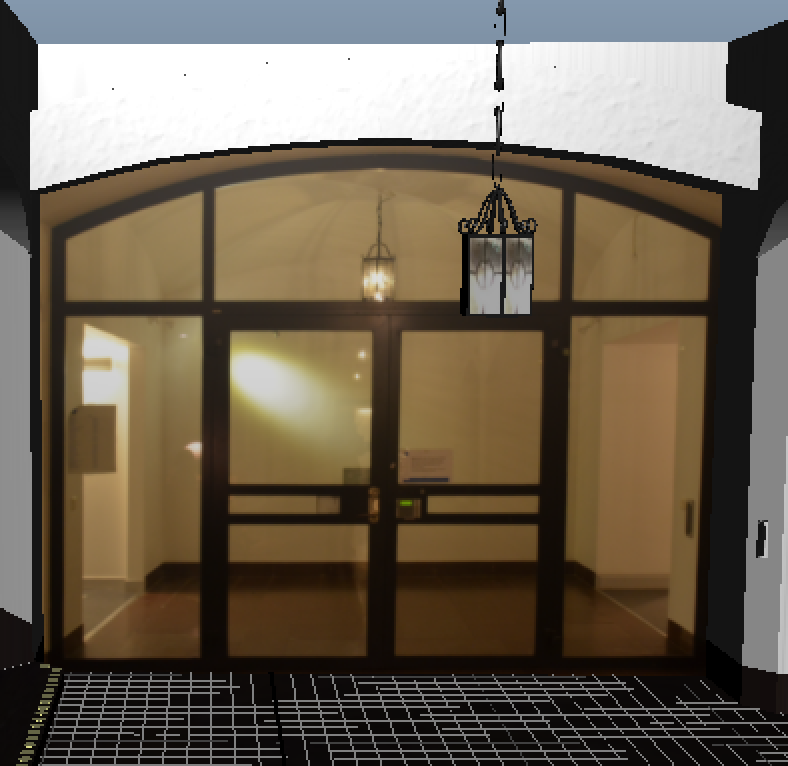
The next step is to apply textures to the 3D models. Here we will introduce how to apply the real pictures as the materials, for example, for the windows, doors and the pendant lamps. Here is the result after adding the picture materials.
Steps: Process your pictures at first, then “Assign New Material”, and name your new material in order to find it easily. Choose the face you want to apply the material to. Project the texture and adjust the scale to get a better result.
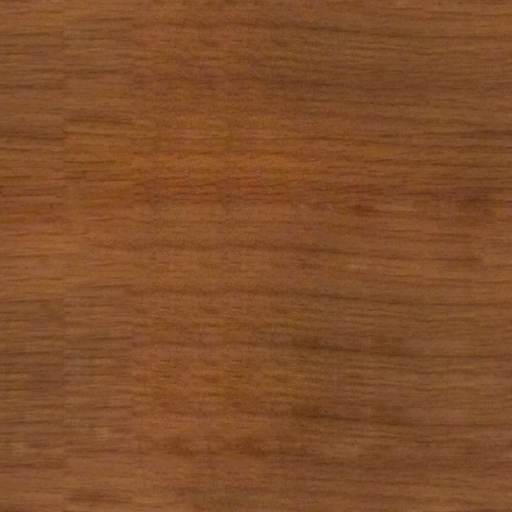
We took the pictures of the ground, wall, armrest, chairs, table, table lamp, etc and processed them in Photoshop as textures. The textures can be seen below.
Add the texture for objects and the lobby model has finally finished.
The next post will be the part to export into Unity as well as our final video and real-time modelling demo:)
P.S. The two tutorials are from the Youtube:
[1] Maya 2015 Modeling Tutorial using modeling toolkit maya Modeling from blueprints [EB/OL].https://www.youtube.com/watch?v=OFBmg-N41gs .
[2] Maya Modeling Tutorial- modeling a living room part- 1 [EB/OL].https://www.youtube.com/watch?v=iRhJWqwnmuM .Thursday 6 November 2014
Specification v1.0
This specification is for my project in the course Introduction to Visualization and Computer Graphics. The project needs to match my interests as well as course requirements. I am passionate about 3D computer games (e.g. Tomb Raider, Resident Evil, etc.), most of which require indoor scenes modelling. I have been thinking about modelling a lobby for a long time. Besides, I would like to help improve the existing KTH model. Therefore, I choose the lobby on 5th floor of the CSC building as my project scene.
Content
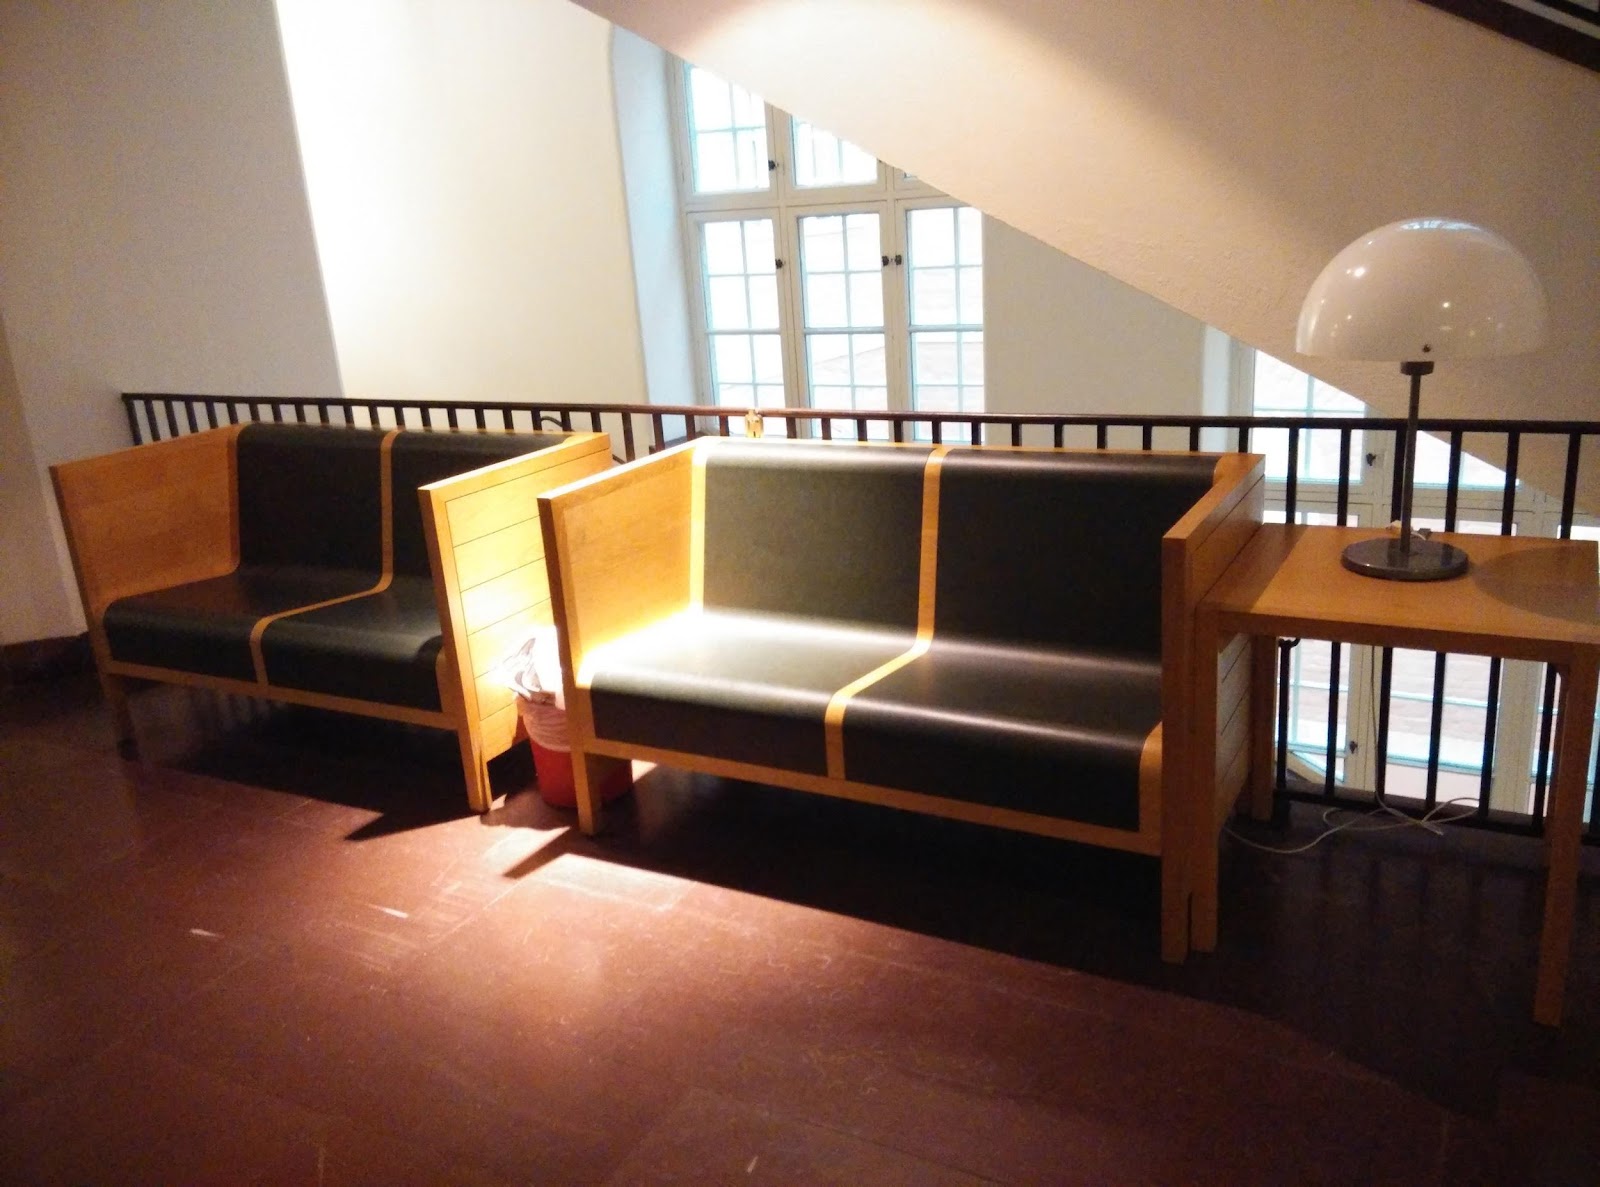
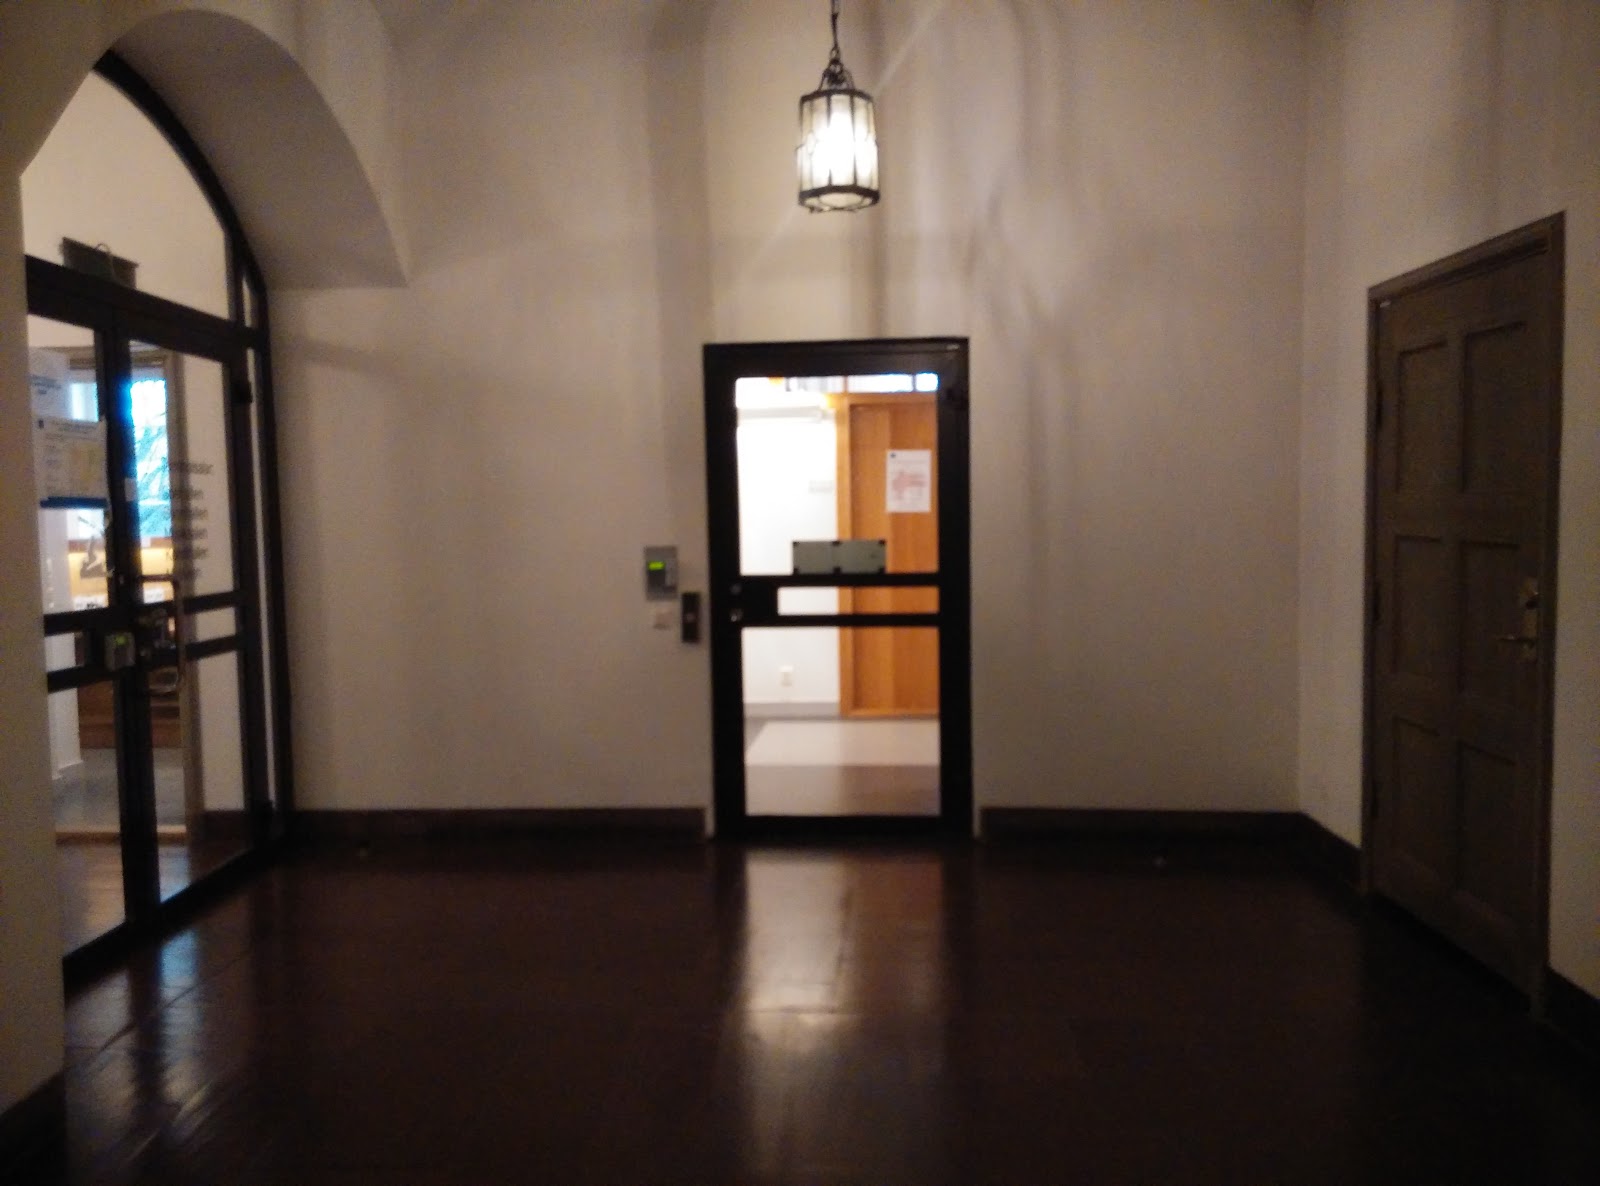
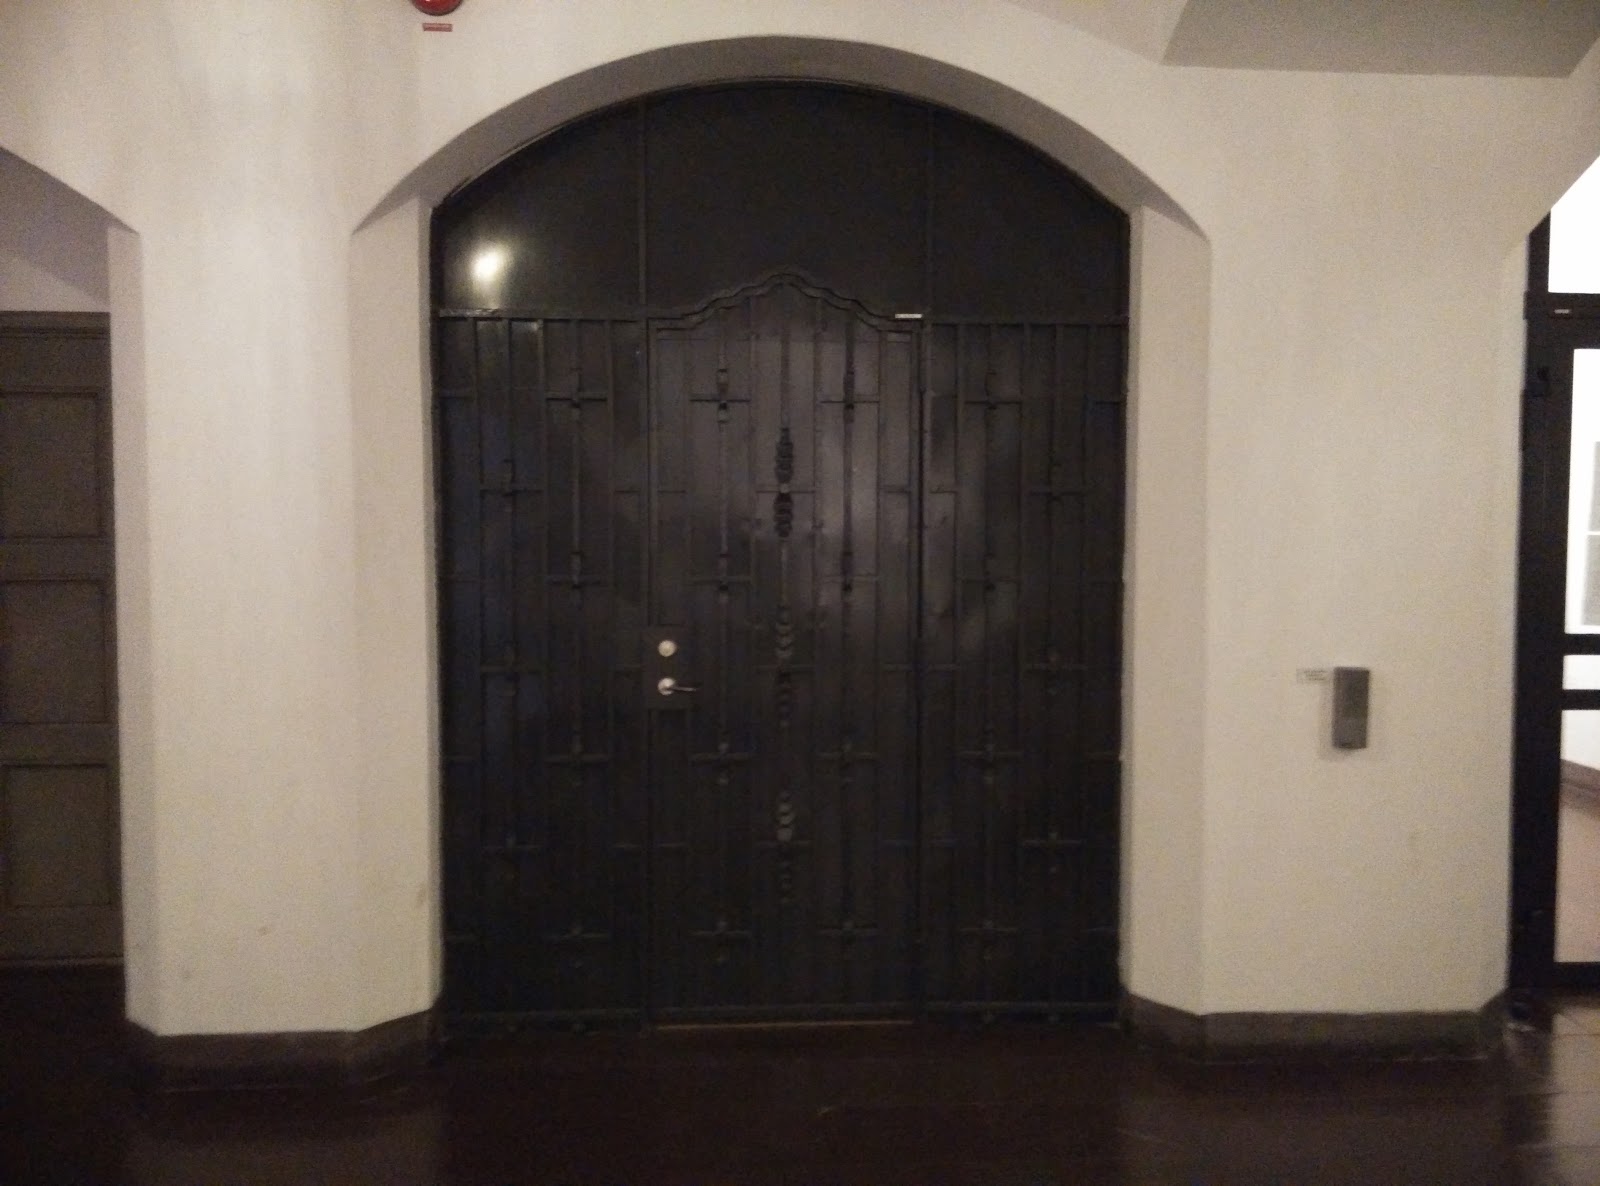
The lobby on 5th floor of the CSC building is relatively a semi-closed space connecting to corridors and staircases. Here are a few pictures I take of the lobby:

In this scene, I need to model the ground and wall:

Chairs, one small table and one table lamp:

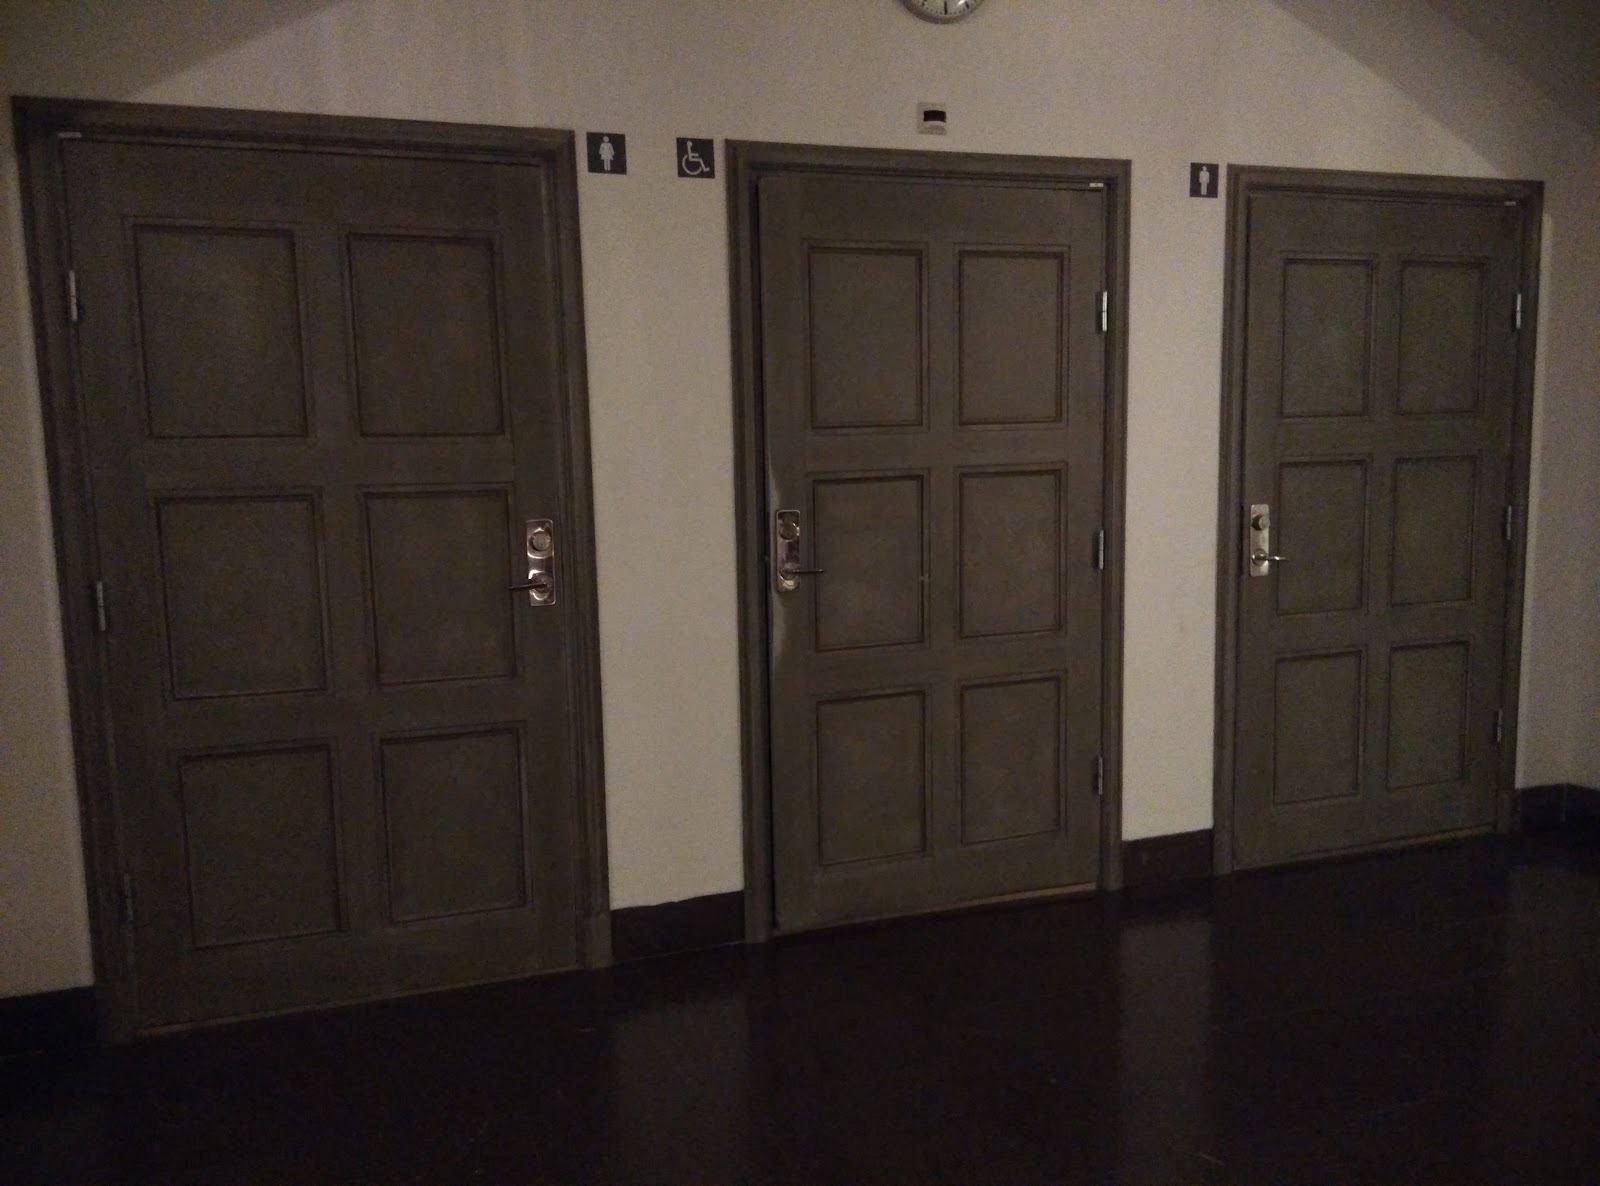
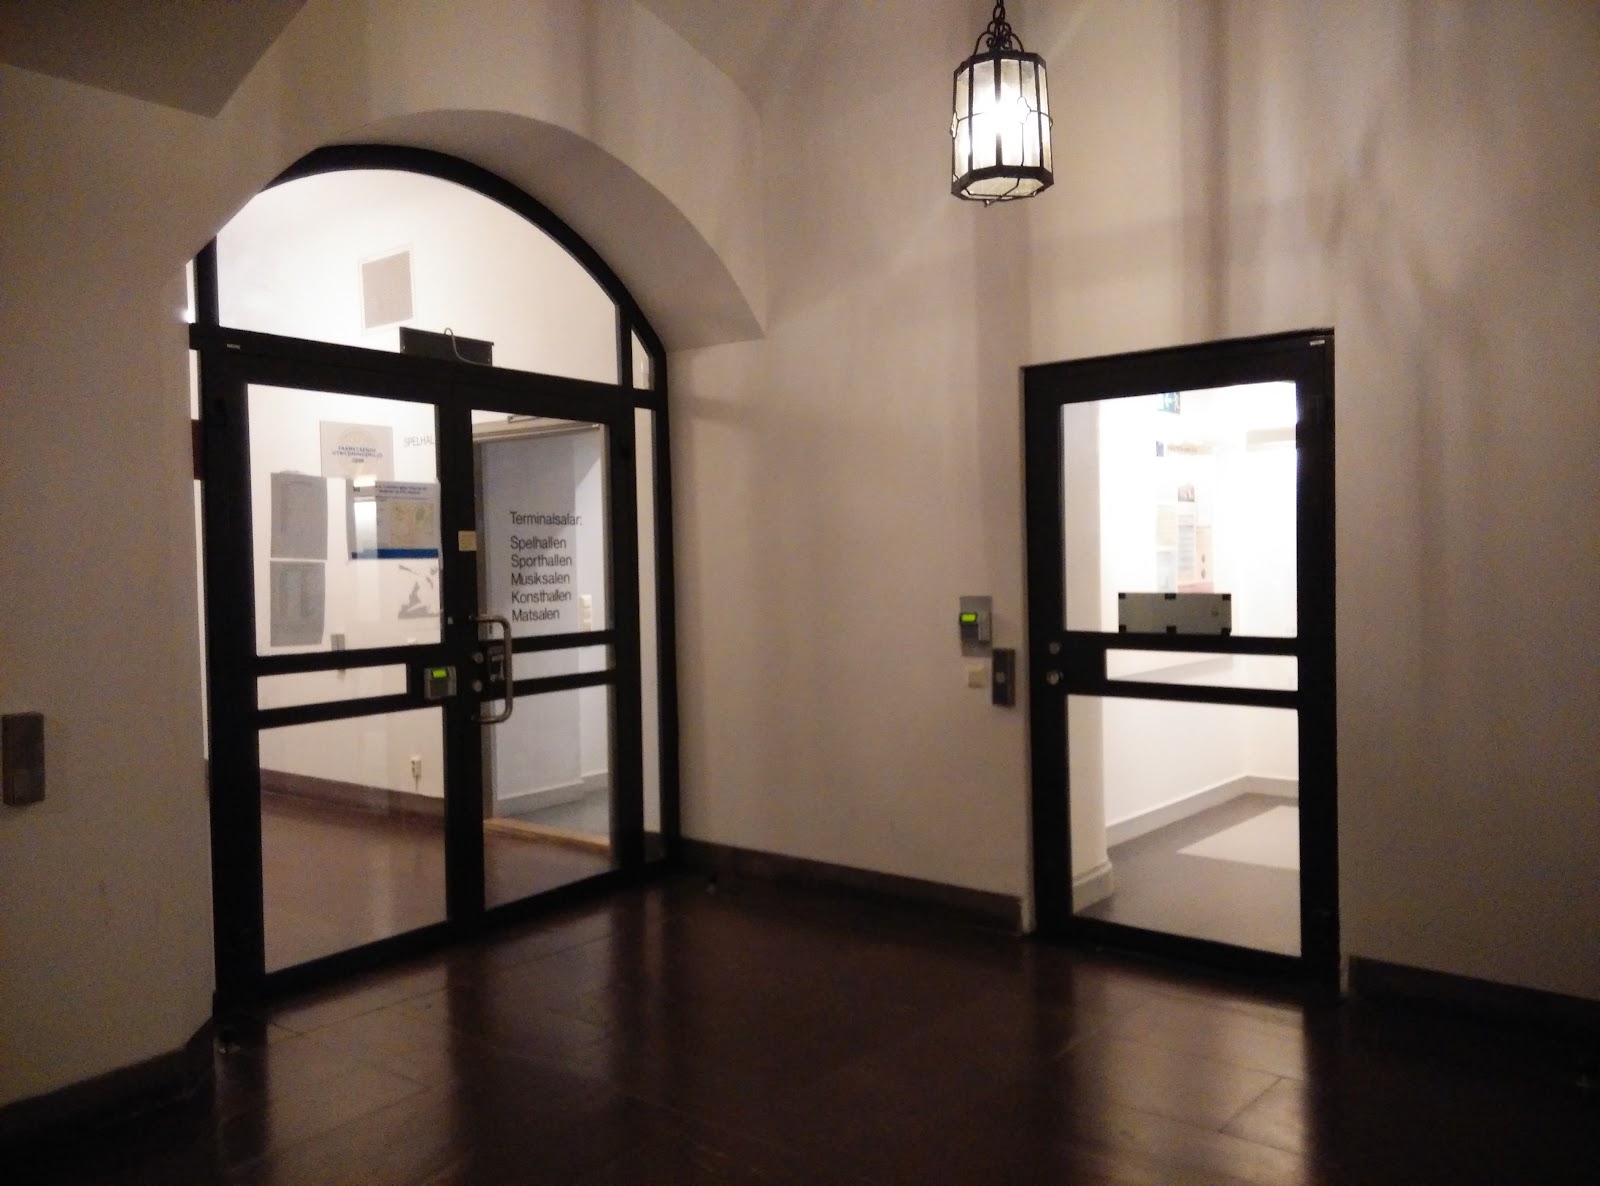
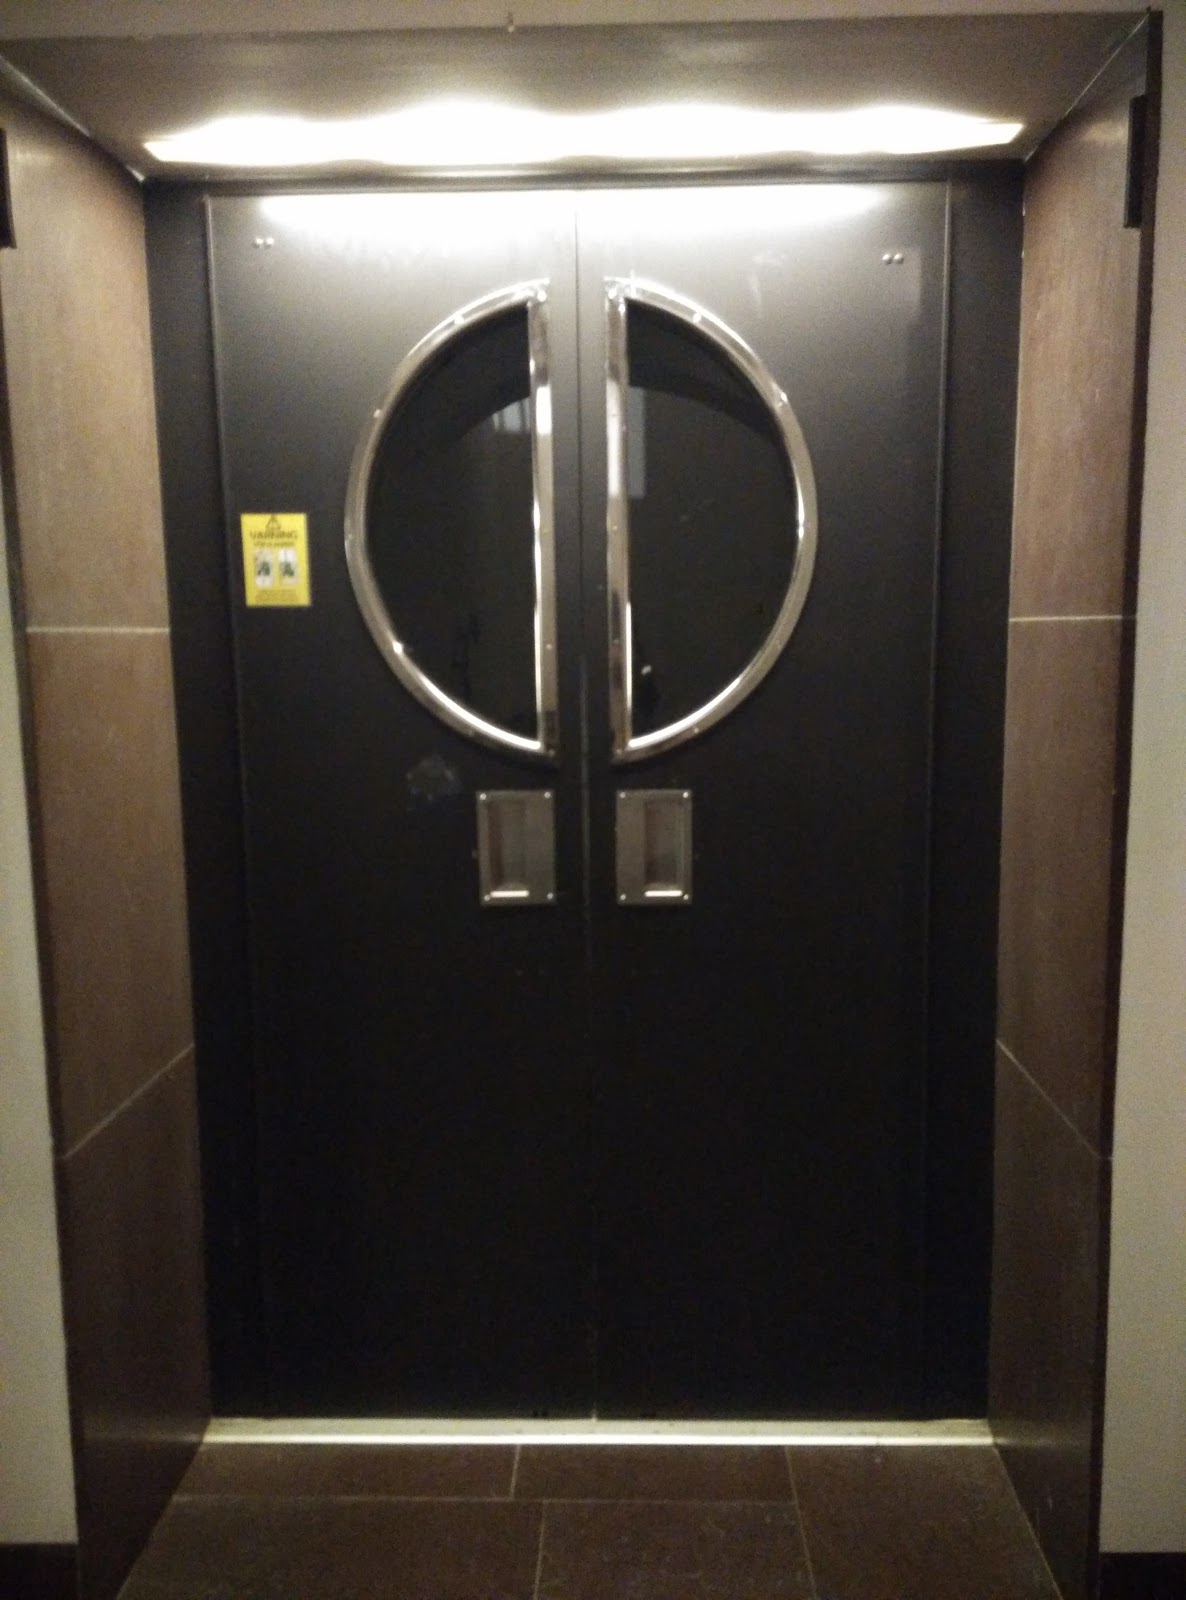
Doors (one elevator door, four wood doors, one iron door as well as three glass doors):
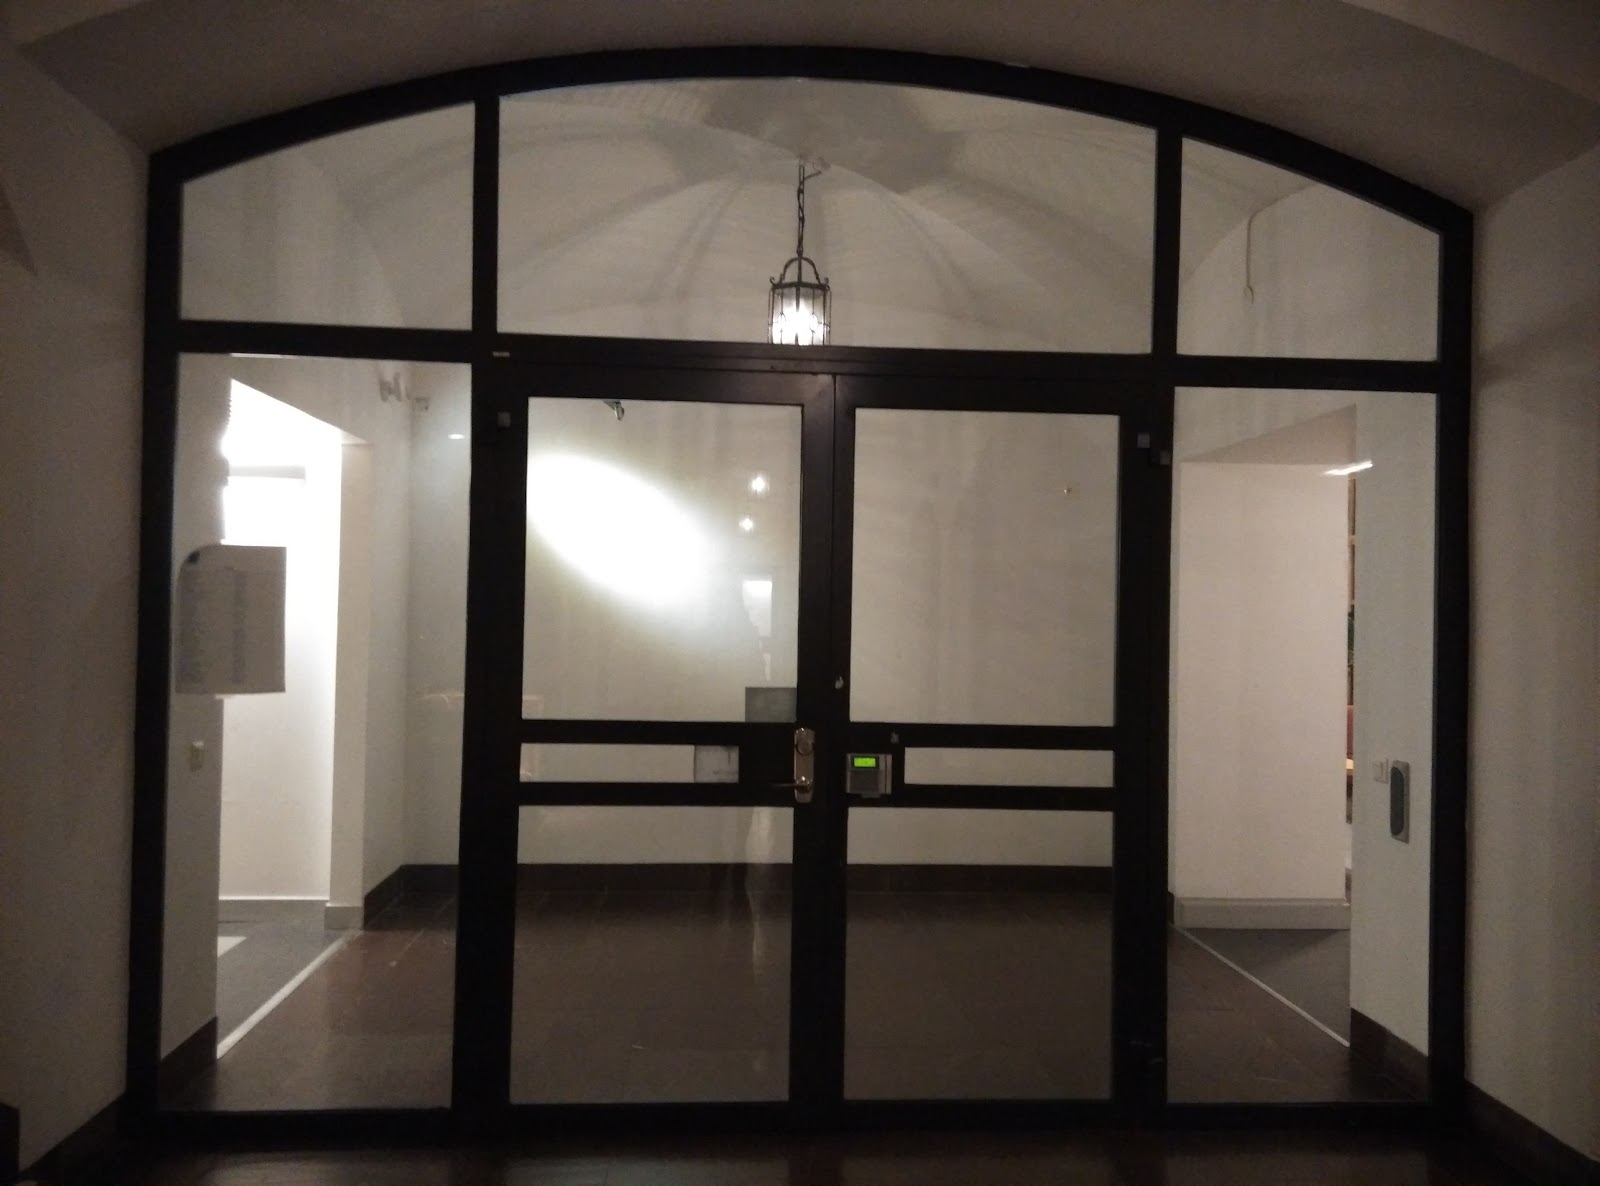

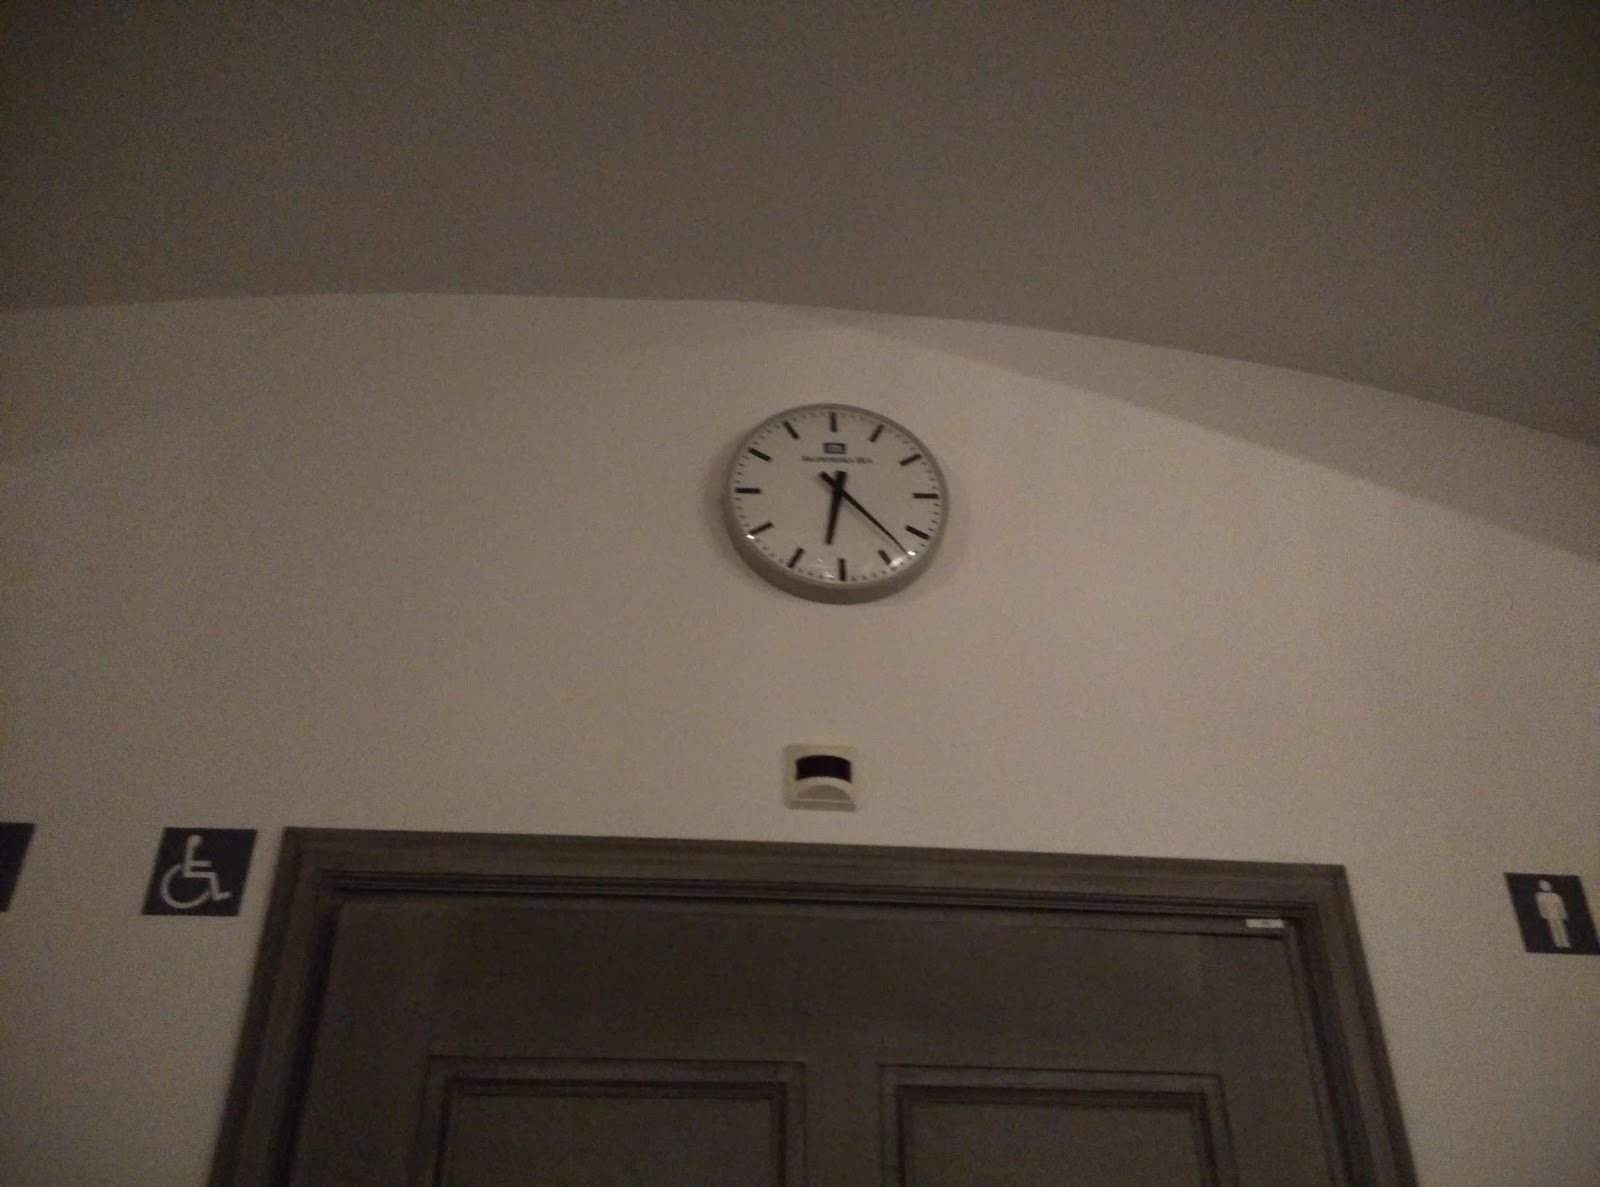
three pendant lamps and one clock:


P.S. Staircases are not embraced.
Implementation
I will begin with 2D graphics tool- Photoshop to create a texture library for the lobby. Then, I will use Maya to create the 3D model of the area. Finally, the model will be implemented in Unity to add lighting and become real-time demo.
Problem
First of all, as for a beginner, the lighting would be the most difficult part of the modelling. The light in this lobby mainly comes from three pendant lamps, which should be noted. Also, the three lamps are very high, so it is really hard for me to examine carefully. Secondly, to model the three glass doors is another interesting difficulty. As we can see, all the glass doors are transparent, which means parts of the corridors should be build as well. Last but not least, the time is limited. Now, I have little knowlegde of 3D modeling which I will spend a number of time in learning and practicing. Besides, I will handle the whole project by myself. So, I need to make best use of the two months and work quite hard to finish it.
Subscribe to:
Posts (Atom)